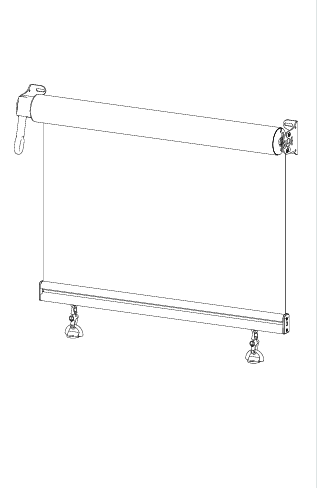
Omni Lite
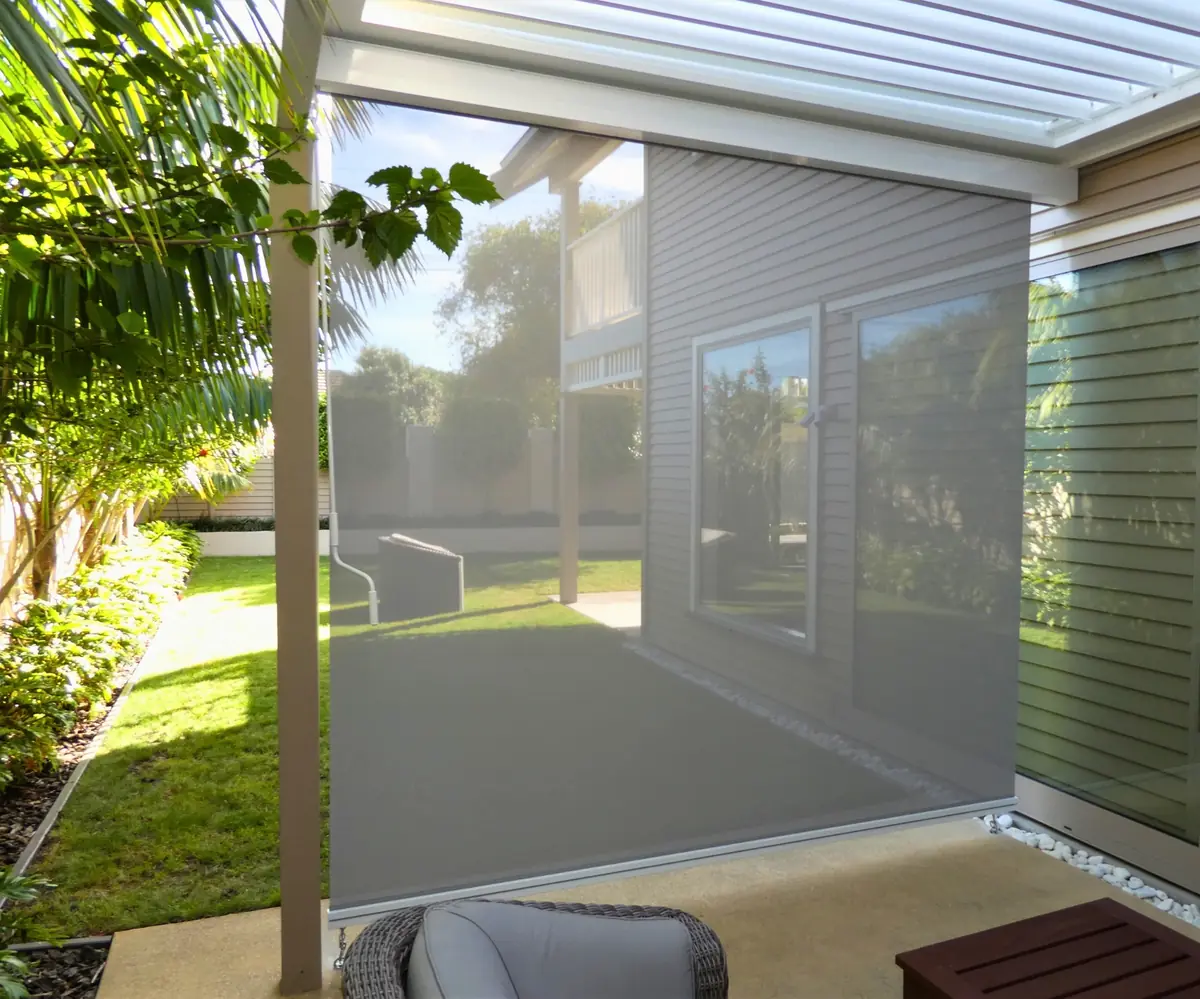
The simplest straight-drop option, using floor anchors to secure the bottom rail when the screen is lowered.
Build your Omni Outdoor Blind online. Choose your system and options, see the delivered price instantly, and we’ll custom-make it for you in New Zealand.



For customers who are comfortable measuring and installing their own outdoor blinds, with everything you need to order confidently online.
Follow our step-by-step measuring guide to get the dimensions you need for your custom-made blind.
Select Lite, Guide Wire or Channel, then customise your blind with your preferred pelmet, operation and finish options.
Follow our installation guide for straightforward DIY installation. You can also review it before ordering so you know exactly what’s involved.
Get a quality, custom-made outdoor blind at a better price by measuring and installing it yourself.
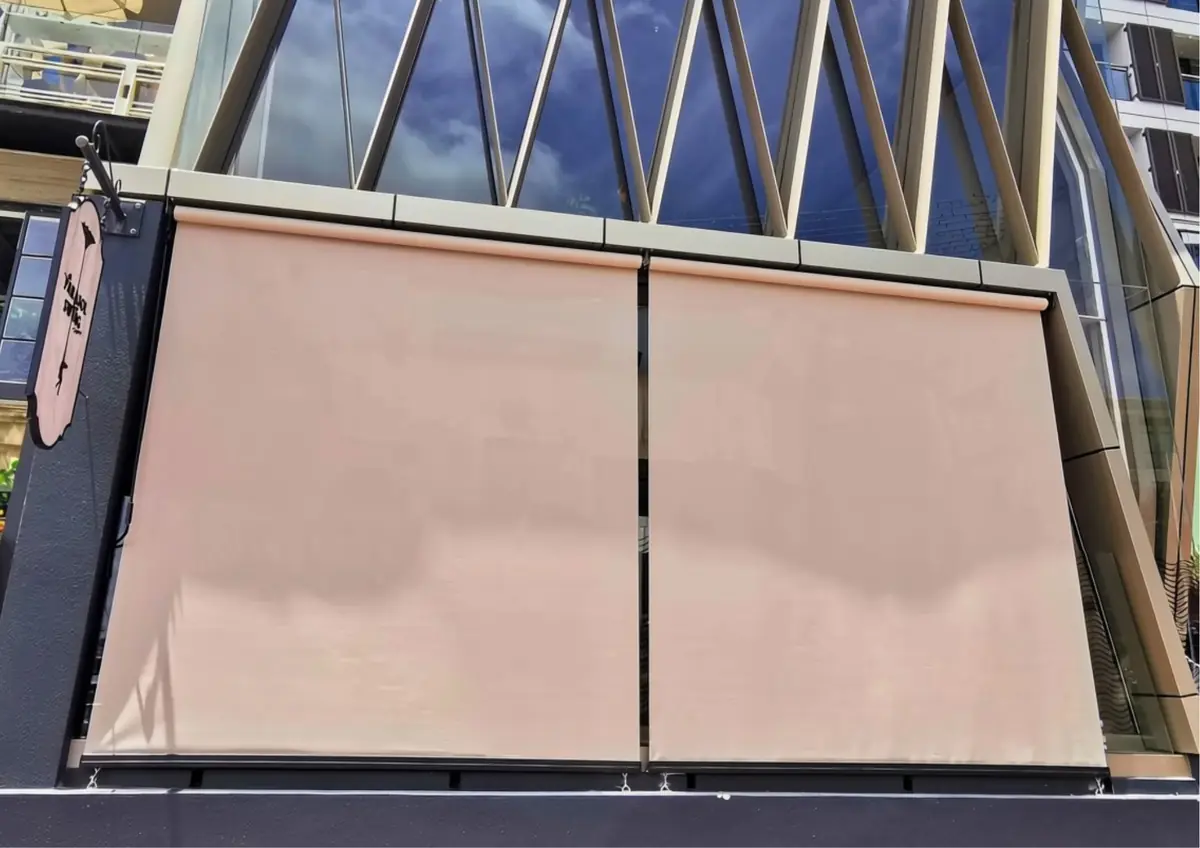
Enter your measurements, then choose the fabric that suits your space: clear or tinted Achilles PVC for the best rain protection, 1% mesh for shade, privacy, wind and light drizzle, or 5–10% mesh for more view and airflow with good sun protection.
Select your system and finishing options, and see your delivered price instantly.
The price you see includes GST and standard NZ delivery, rounded to the nearest dollar. Tap any mesh colour to view a larger sample; colours shown on a screen are indicative only and are not suitable for exact colour matching.
Motorised screens are supplied with the selected motor and remote. Fixed mains electrical connection is arranged separately.
Powder coating applies to the bottom rail. If Channel, flashing or a full pelmet is selected, those aluminium components are supplied in the same colour.
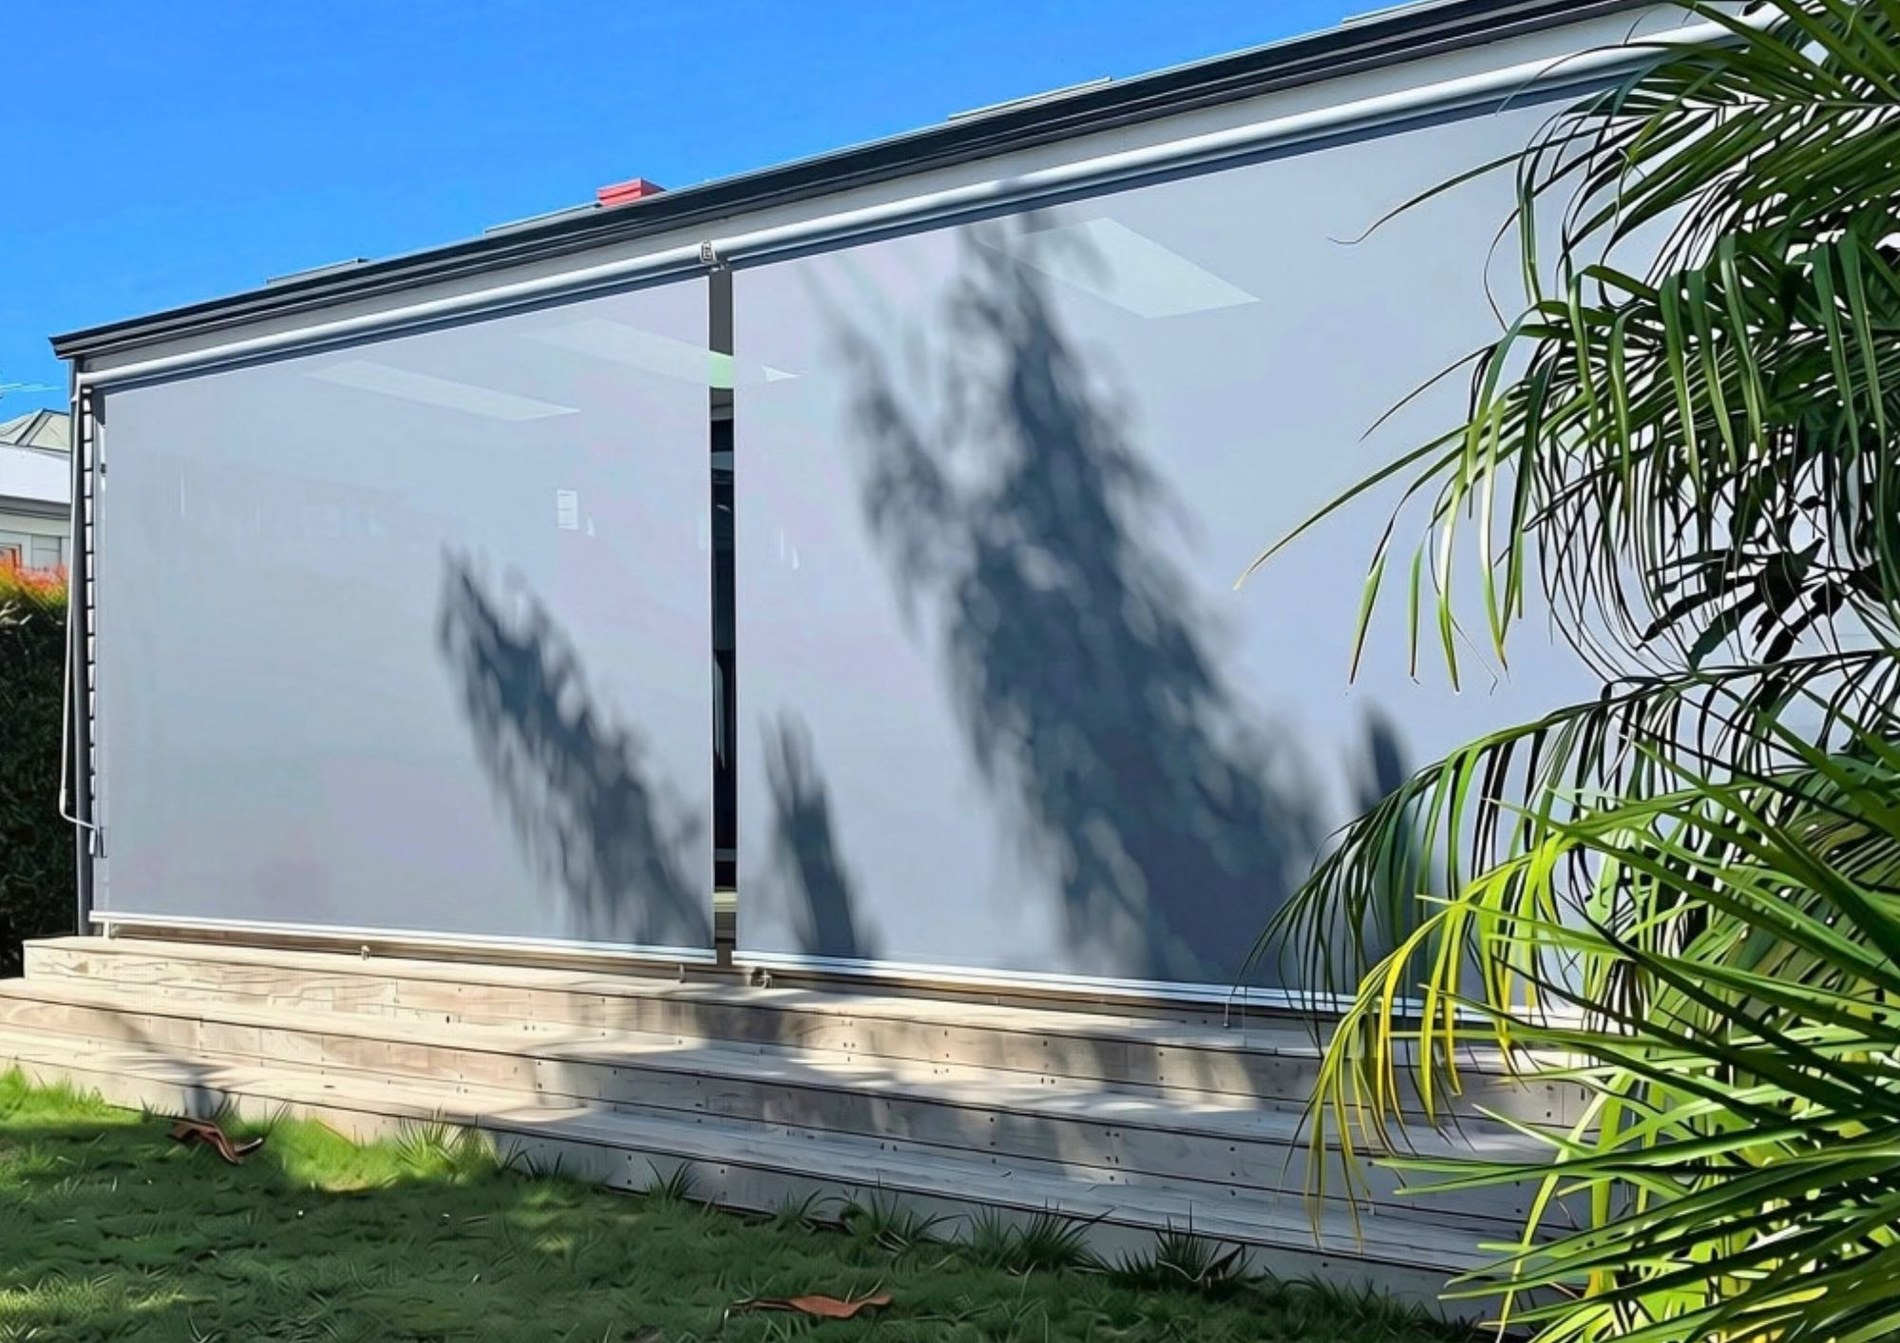
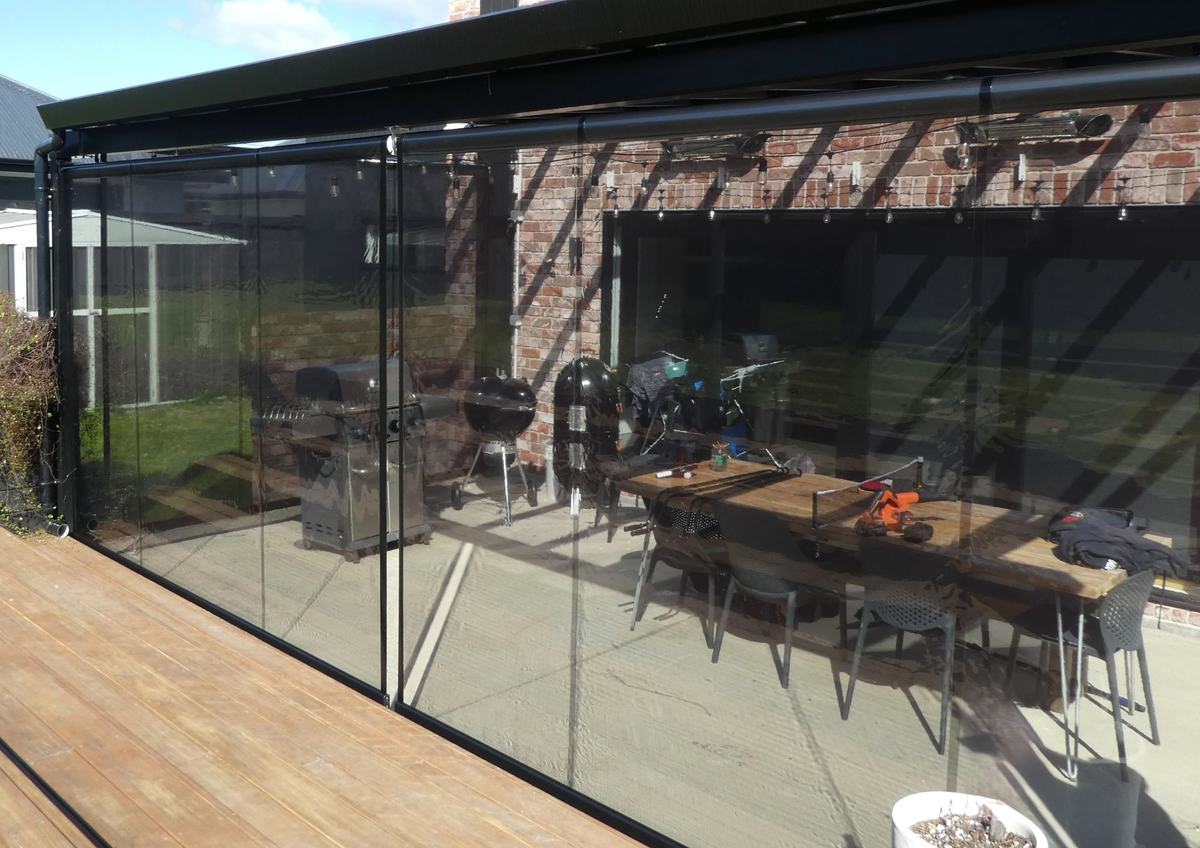
PVC and mesh screens can be used on patios, pergolas, balconies and outdoor openings.
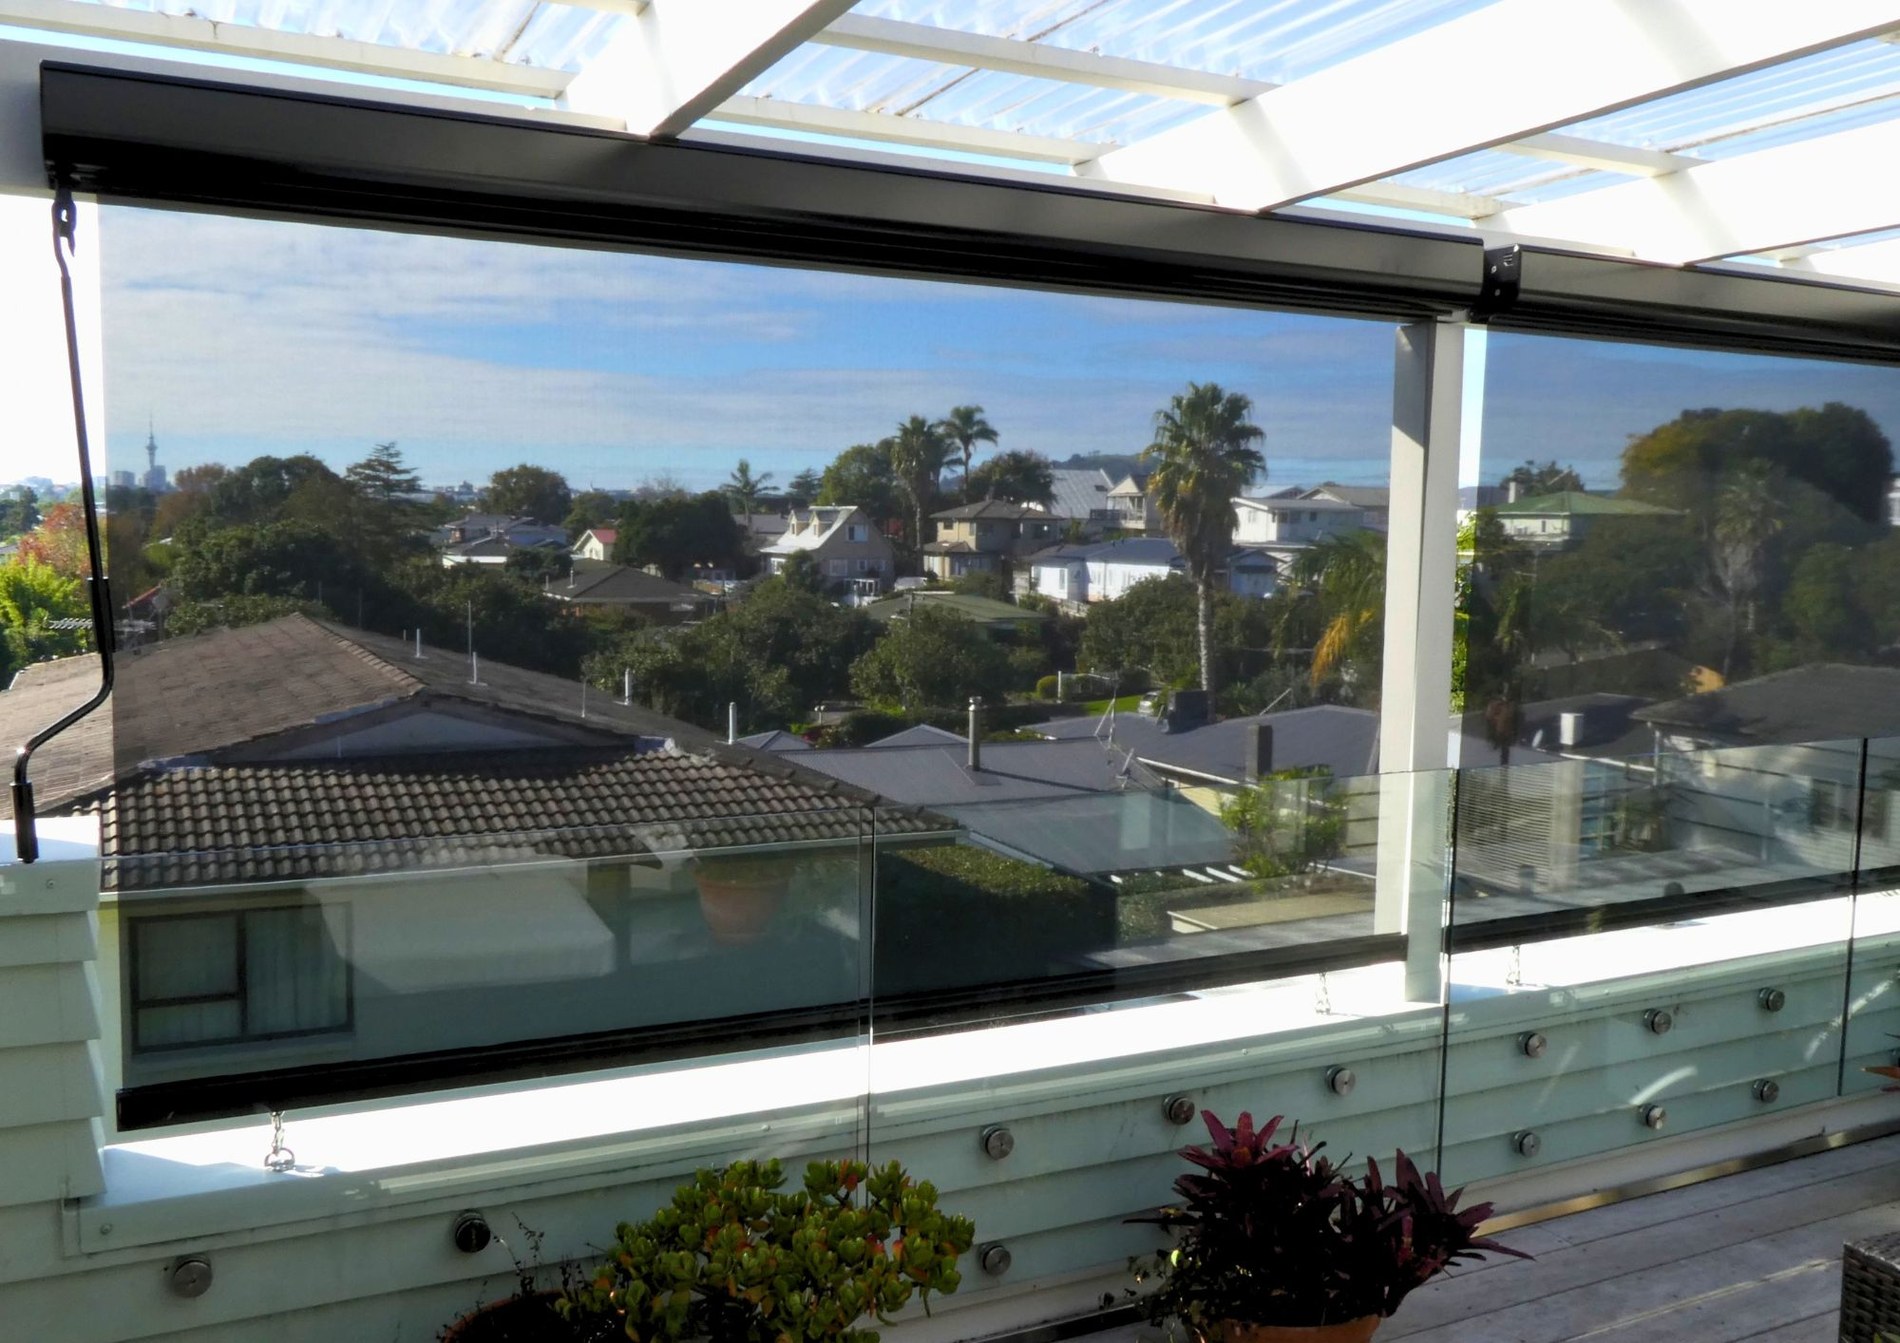
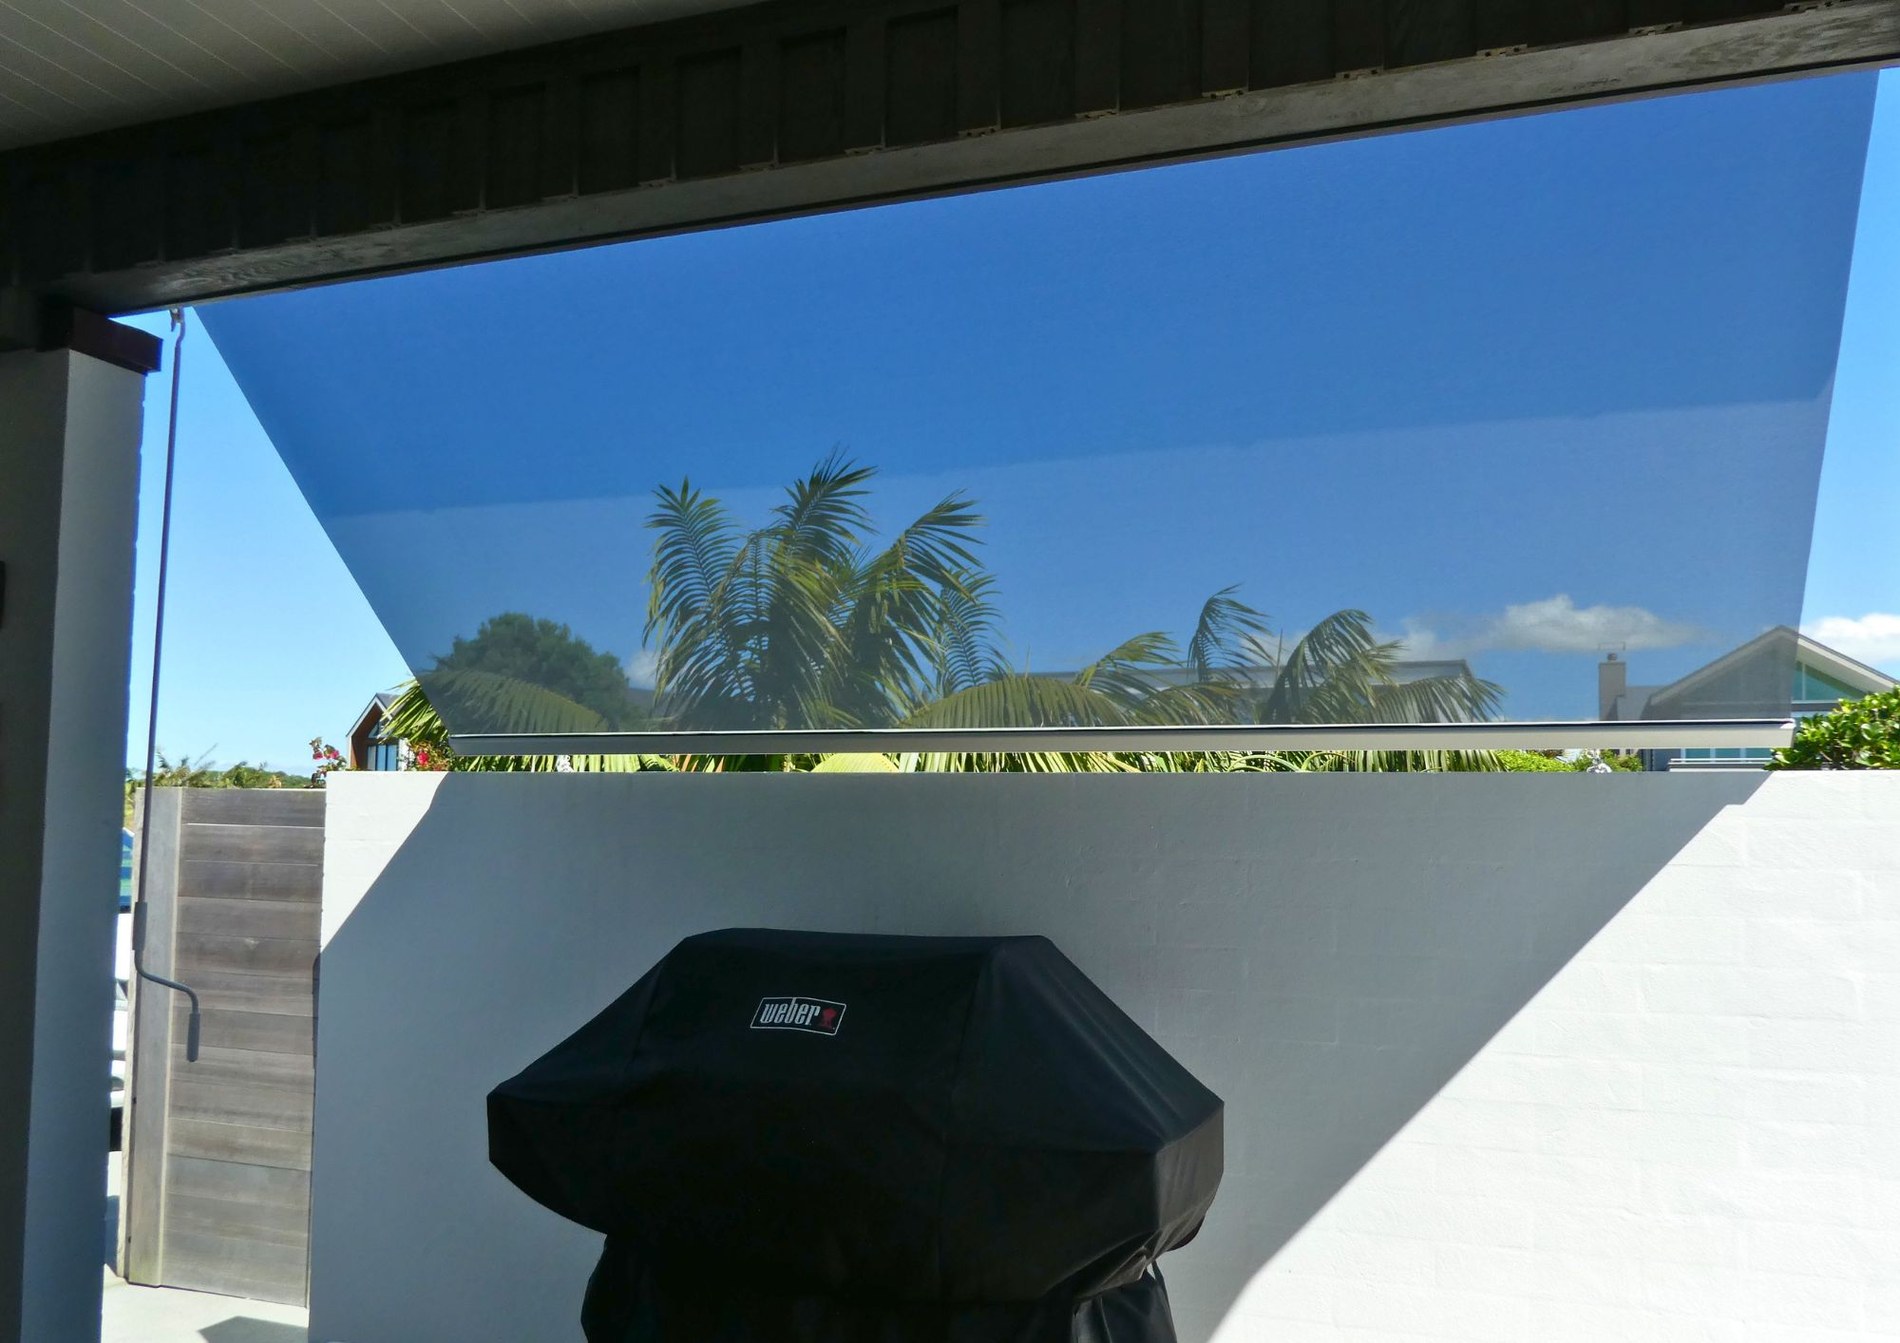
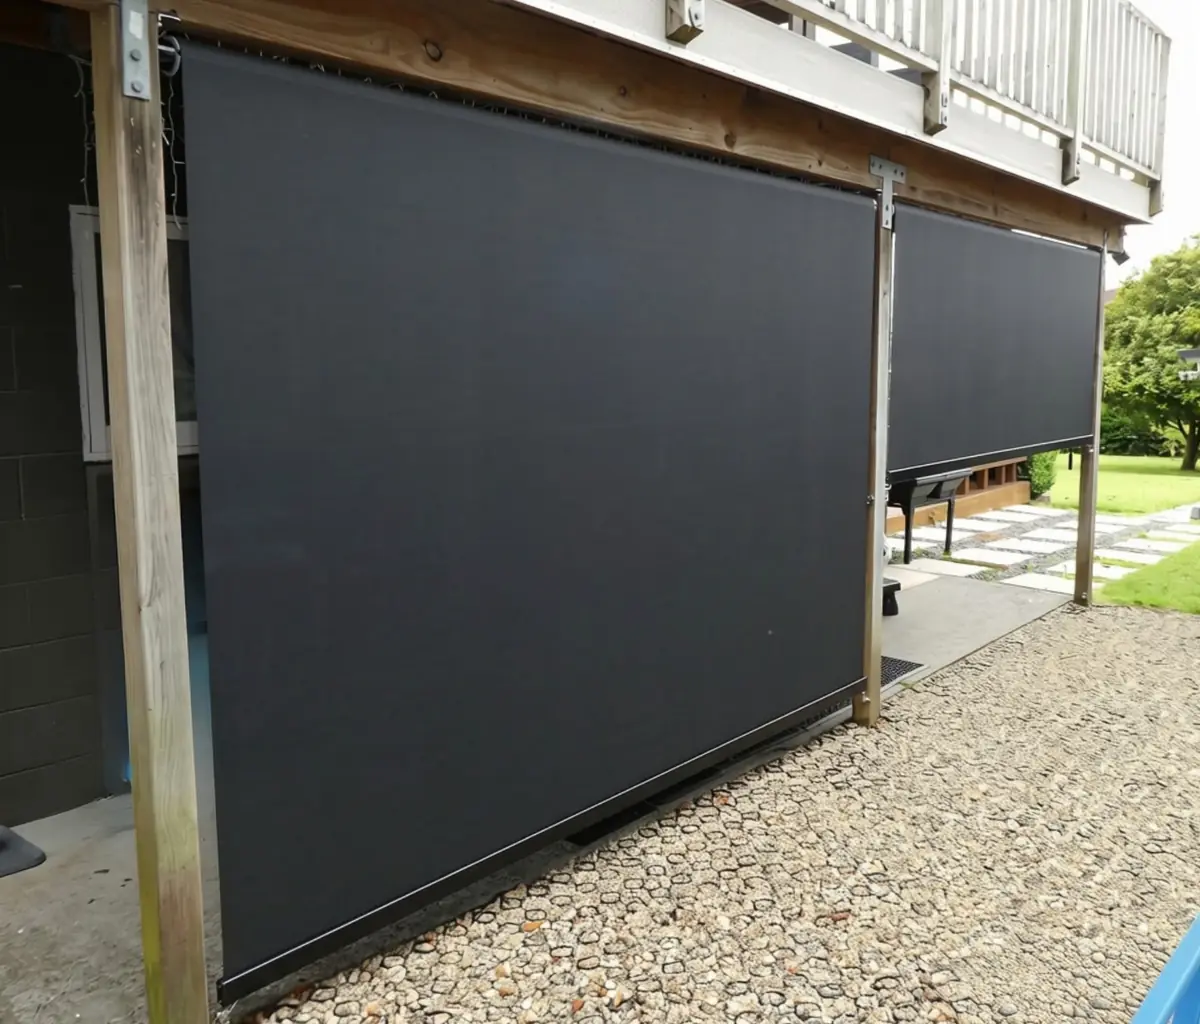
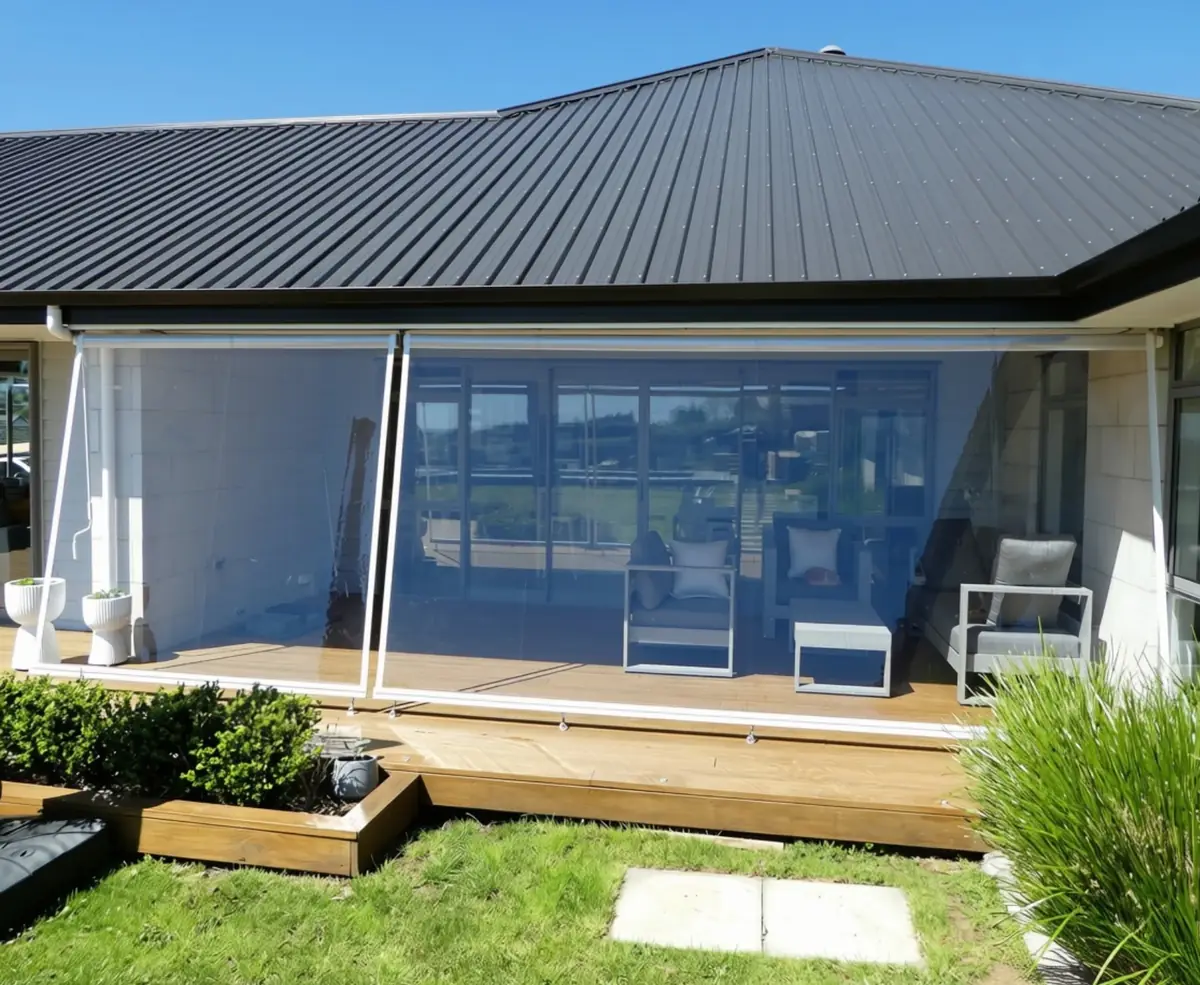
Both guides are public, so you can see exactly what you’re getting and what is involved before ordering. If anything is unclear, get in touch and we can help.
Width and drop, measurement points, common mistakes and a final pre-order check.
Open measuring guide →Lite, Guide and Channel comparison, dimensions, materials, operation, finishes and product details.
Download PDF →Tools, fixings, installation sequence and separate sections for Lite, Guide, Channel and motorised screens.
View guide summary →The same custom-made screen with different ways of locating and restraining it at the sides and bottom.
The simplest straight-drop option, using floor anchors to secure the bottom rail when the screen is lowered.
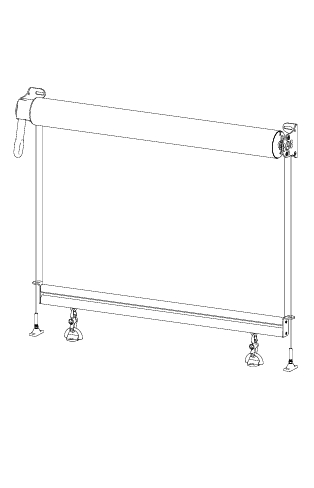
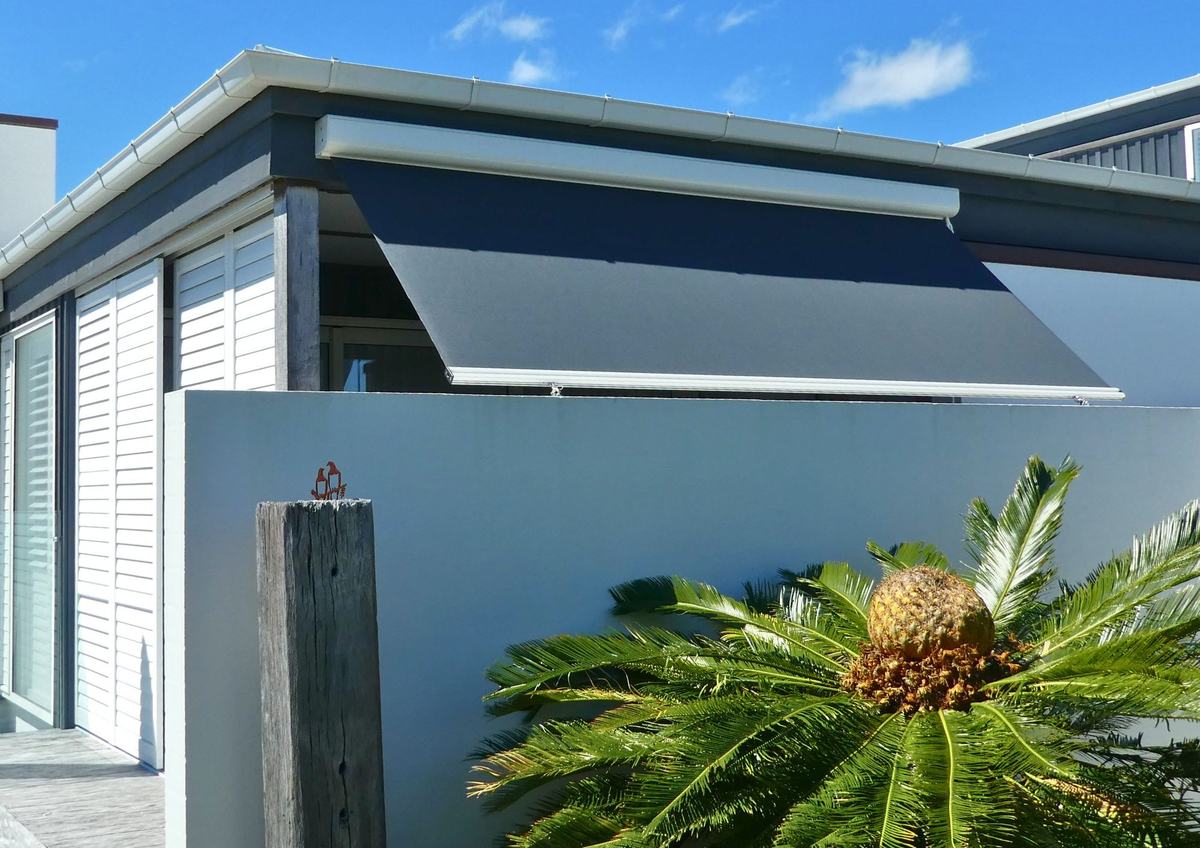
Stainless guide wires at each side help keep the screen aligned and reduce movement when it is partly lowered.
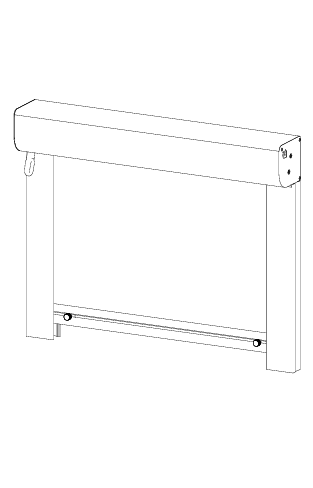
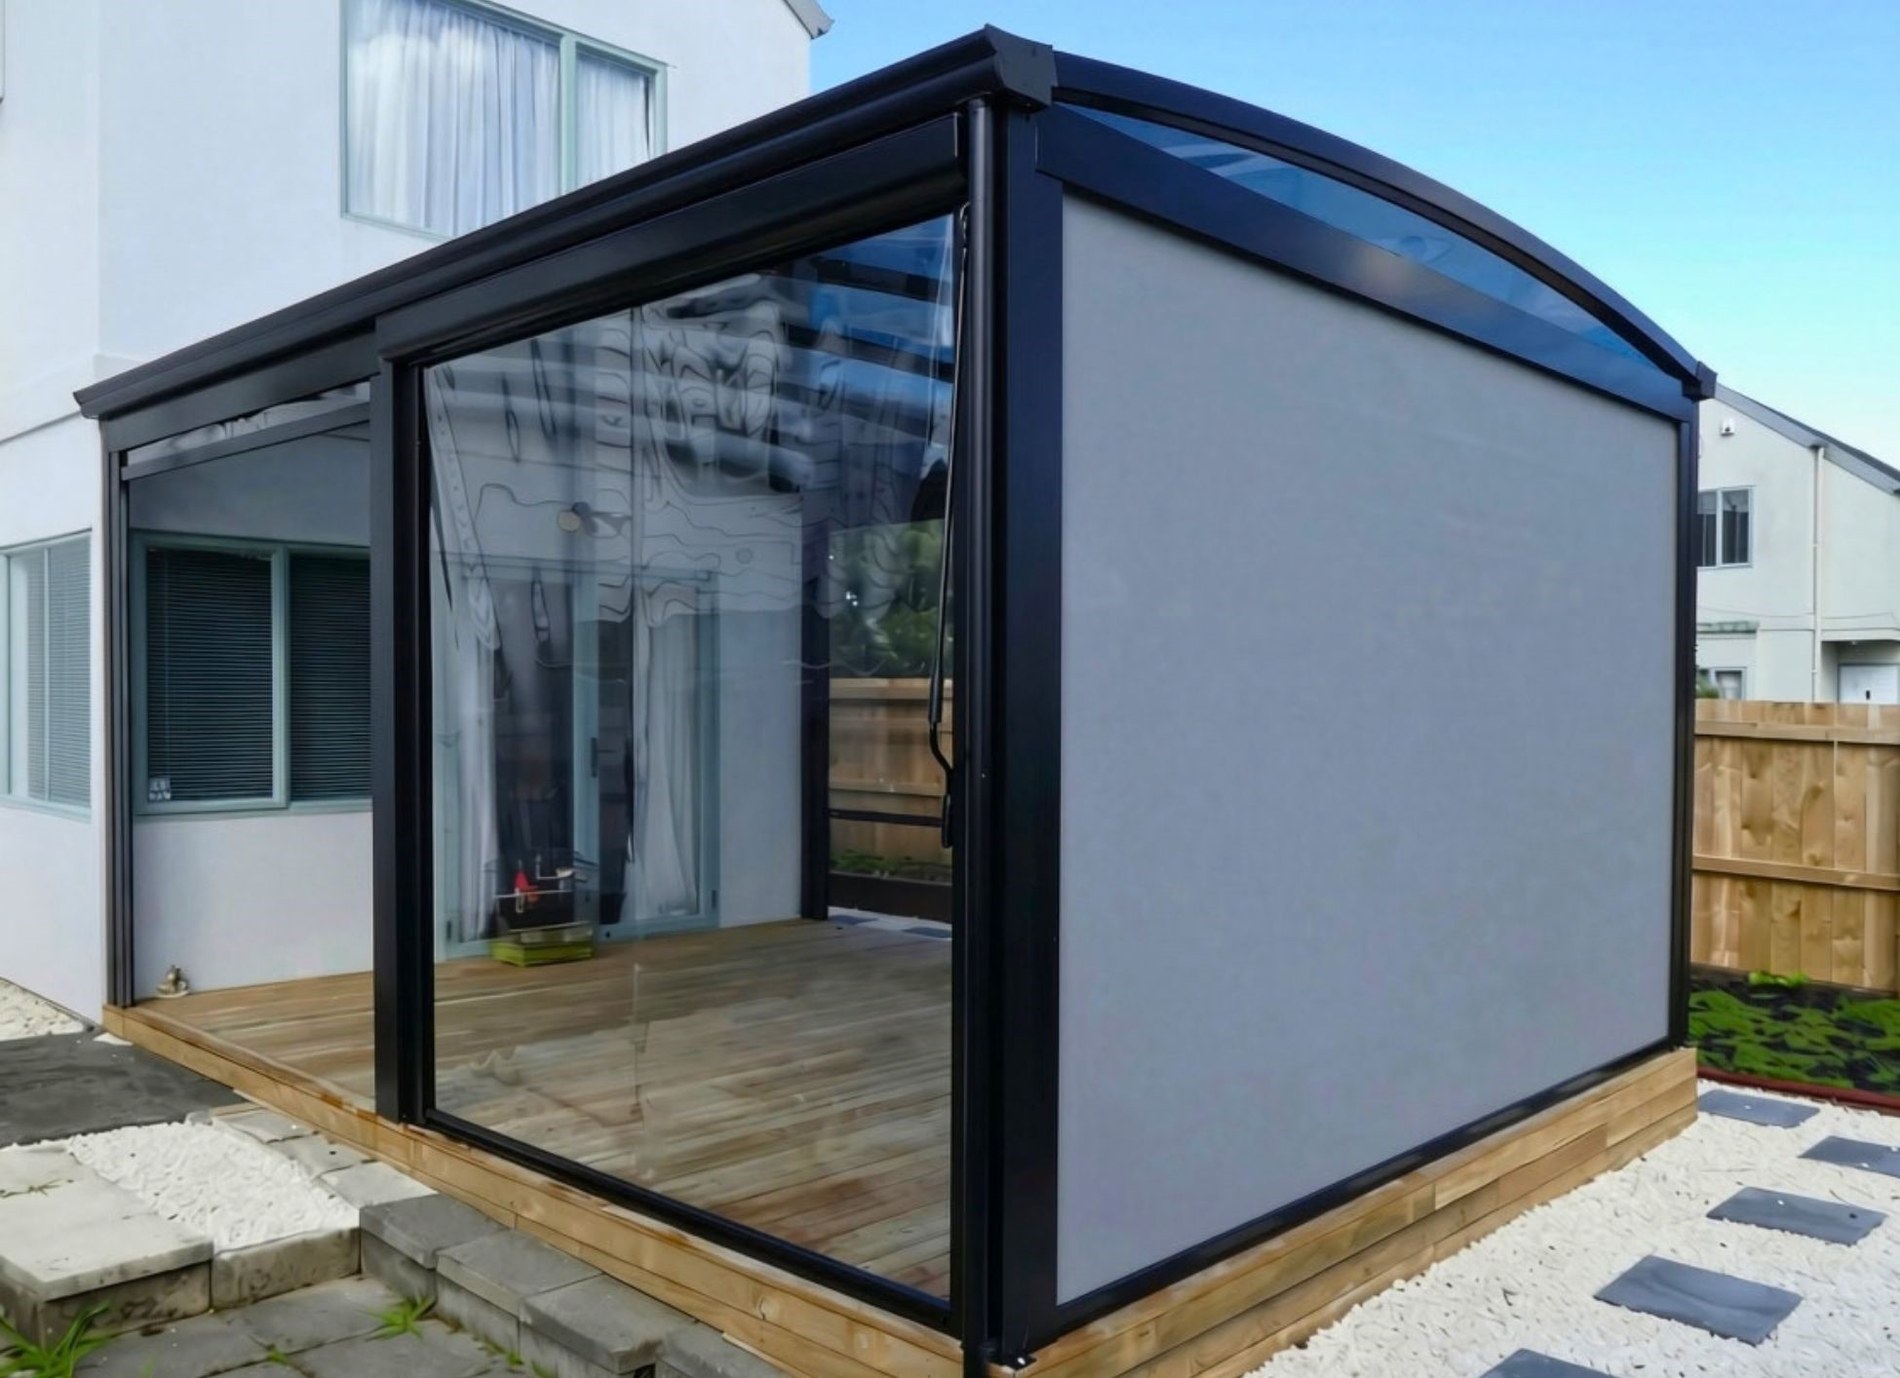
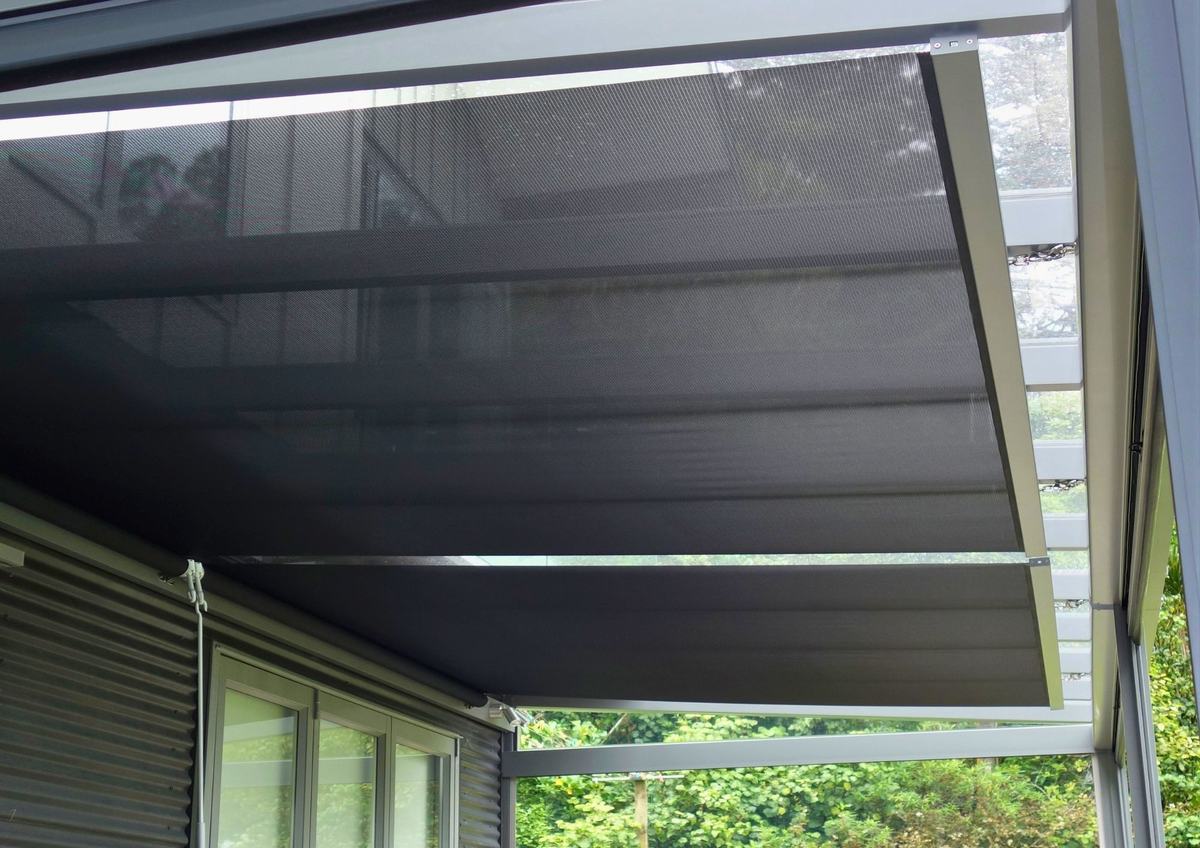
Aluminium side channels provide the cleanest finish and increased side protection, with locks built into the bottom rail. The image shows the optional full pelmet.
A few important details about warranty, lead time, delivery and custom-made screen characteristics.
Omni components, clear PVC, Shadeview mesh and motors are covered by the applicable product and manufacturer warranties. See the warranty page for periods, exclusions and claim information.
View warranty details →Allow approximately 4 weeks for manufacture and dispatch with standard powder-coat colours. Custom powder coating and other non-standard options may take longer. Final timing is confirmed once your order has been reviewed and accepted.
View delivery information →Every screen is made to the dimensions and options you submit. Colours can vary between screens and devices, so viewing a physical sample is recommended where colour matching is important.
Measure carefully in millimetres and check the dimensions again before submitting a custom-made order.
Inside / recess fit: measure the opening width at the top, middle and bottom and note any variation or obstruction.
Face fit: measure the opening width and add at least 50 mm on each side (minimum 100 mm total), provided there is suitable mounting structure.
Inside / recess fit: measure from the top to the bottom of the opening.
Face fit: measure from the planned top of the roll / mounting position down to the required bottom finishing point.
Select Lite, Guide or Channel, then confirm the screen material, top cover / flashing / pelmet, operation, powder coating, roll direction, control side and crank length where applicable.
Confirm the width, drop, mounting surfaces, clearance from obstructions, control side and that the dimensions entered in the configurator match your notes.
The main installation steps are below. Download the full guide for the system-specific sequence, tools, safety notes and final setup. Structural screws, bolts and anchors are not supplied because the correct fixings depend on the mounting surface and supporting structure.
Download full installation guide (PDF) →Use two people, suitable PPE and fixings appropriate to the mounting structure. Check the ordered dimensions, all parts and clearance from obstructions before drilling.
Brackets can be face-mounted, ceiling-mounted or recess-mounted. Level and secure the brackets, then lift the roller into position with the control end first and retain the idler end correctly.
Lite: lower the screen and install the ground anchors level with each other. Guide: run the wire through the top bush and bottom rail, leave about 500 mm tail while tensioning, then test the blind up/down. Channel: cut channels 102 mm less than overall height, mount plumb, use fixings about 200 mm from each end with max 1000 mm spacing, then mark level slide-lock positions and drill 10 mm holes.
Raise and lower the blind several times. Check that the bottom rail runs level, the screen tracks evenly and the system operates smoothly before completing the installation.
The practical things people usually want to know before measuring and ordering.
An Omni Screen is a retractable straight-drop outdoor screen used across openings such as decks, patios, balconies, pergolas, doors and windows. It rolls away when not required and can be made in clear/tinted PVC or mesh.
Lite is the simplest system and locks down to floor anchors. Guide adds stainless side guide wires to improve alignment and reduce movement. Channel uses aluminium side channels for increased side protection and a cleaner, more enclosed finish.
Choose clear or tinted PVC, or Shadeview mesh in Classic (10% openness), Urban (5%) or One (1%). Mesh gives airflow and outward visibility; PVC provides a clearer weather barrier.
Yes, but the view and privacy level depend on openness. Classic 10% gives the most airflow and open view, Urban 5% is more balanced, and One 1% gives the greatest screening and privacy of the three ranges.
Clear PVC screens wider than 1400 mm will have vertical welds. This is a normal part of manufacturing wider clear-PVC screens.
Yes. Omni Lite has approximately 30 mm gaps between the frame and the edge of the fabric/PVC. If reducing side gaps is important, consider Guide or Channel.
The current online configurator supports widths from 500–4500 mm and drops from 500–3000 mm. Contact us if your opening sits outside the online range.
Yes. They are commonly used on decks, patios, pergolas, balconies, doors, windows and similar outdoor openings. The mounting structure needs to be suitable for the screen and its fixings.
Manual screens use a removable crank handle. Motorised screens are available with the motor on the left or right side. Any mains electrical connection must be completed by a suitably qualified electrician.
Maintenance is simple: keep the screen clean, use mild detergent and water, avoid harsh chemicals and pressure washing, and allow the fabric or PVC to dry before rolling it away.
Yes. These products are offered for DIY installation and we provide measuring and installation guidance. If you are unsure about structure, fixings or electrical work, use an appropriate qualified tradesperson.
Allow approximately 4 weeks for standard powder-coat colours. Custom powder coating and other non-standard options may take longer.
Yes. Standard NZ courier/freight delivery is included in the displayed price unless a special freight situation applies.
Omni components, PVC, mesh and motors have product-specific warranty periods. See the Warranty page for the current details and exclusions.
Custom-made products are not returnable for change of mind, incorrect measurements or other non-fault reasons. Your rights for faulty or misdescribed goods are not affected.
Secure payment will be completed through Stripe Checkout once the live payment connection is enabled.
Range
Openness